How to Remove a Bathtub Drain
Knowing how to remove a bathtub drain is a helpful skill for when you need to deep clean the drain, replace the drain entirely or remove the bathtub. Removing a bathtub drain is a straightforward beginner task, especially once you identify the type of tub drain and stopper you have. Follow this guide to learn how to remove common bathtub drain stoppers and how to replace a bathtub drain after its removal.
Identify the Type of Bathtub Drain Stopper
Bathtub drain removal starts with identifying the type of drain stopper your bathtub has so that you can use the proper removal technique. The drain stopper is the part of the drain that opens and closes to either empty or fill the tub. It is the most recognizable part of the drain.
Below is a list of the four most common types of bathtub stoppers, followed by how to remove each type. Note that while any type of tub drain can be removed, we recommend hiring a professional plumbing service if the drain is particularly old or if you cannot easily identify the type of stopper.
Toe-Touch Drain Stopper
A toe-touch drain stopper is spring-loaded and designed to be opened and closed with just a press of your toe. This stopper is convenient and easy to install, although the spring may need to be replaced with age and frequent use.
Push-Pull Drain Stopper
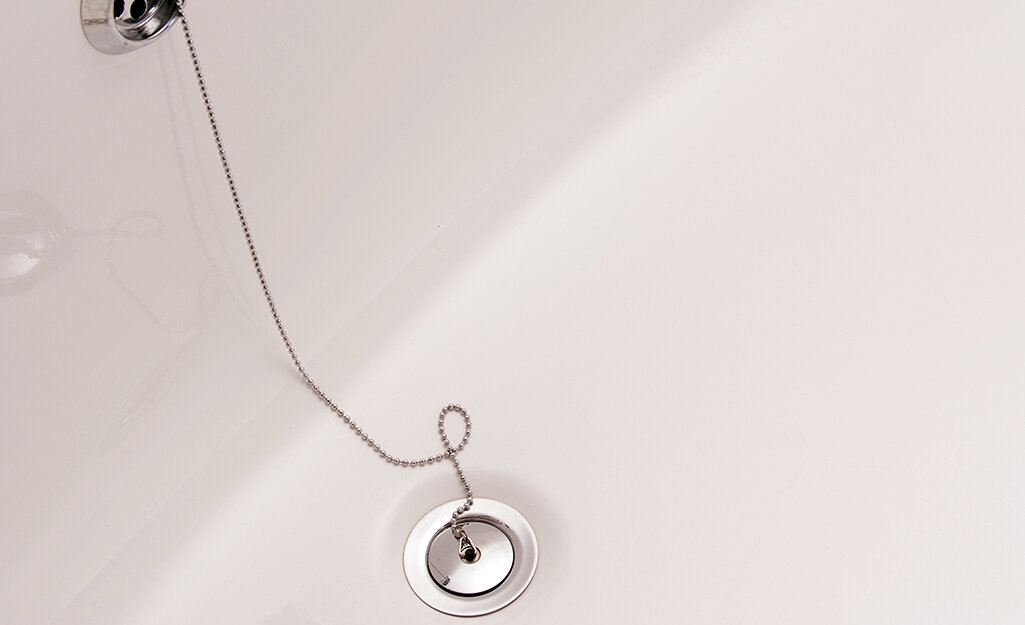
Also known as a foot plug, a push-pull drain stopper opens and closes just as its name describes. You pull up on its small knob to open the drain and push down to close it again. This simple drain stopper is easy to remove and install and has a long lifespan.
Lift-And-Turn Drain Stopper
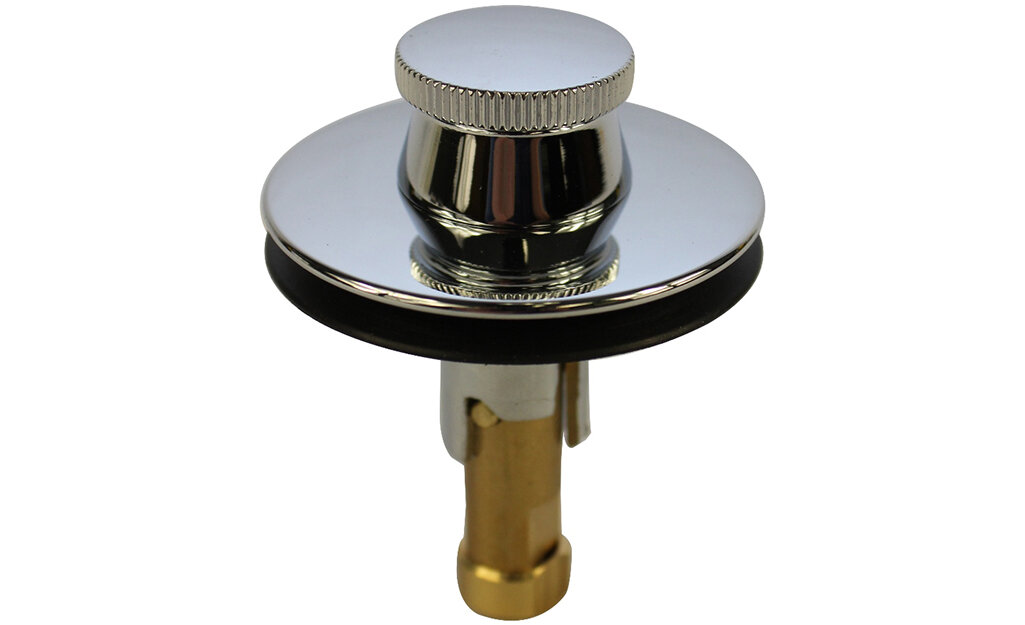
A lift-and-turn drain stopper or twist-and-pull drain stopper appears similar to a push-pull drain stopper, since both types have small knobs on the top. This drain stopper opens by turning it clockwise while pulling up slightly on the knob and closes by turning it counterclockwise.
Trip-Lever Drain Stopper
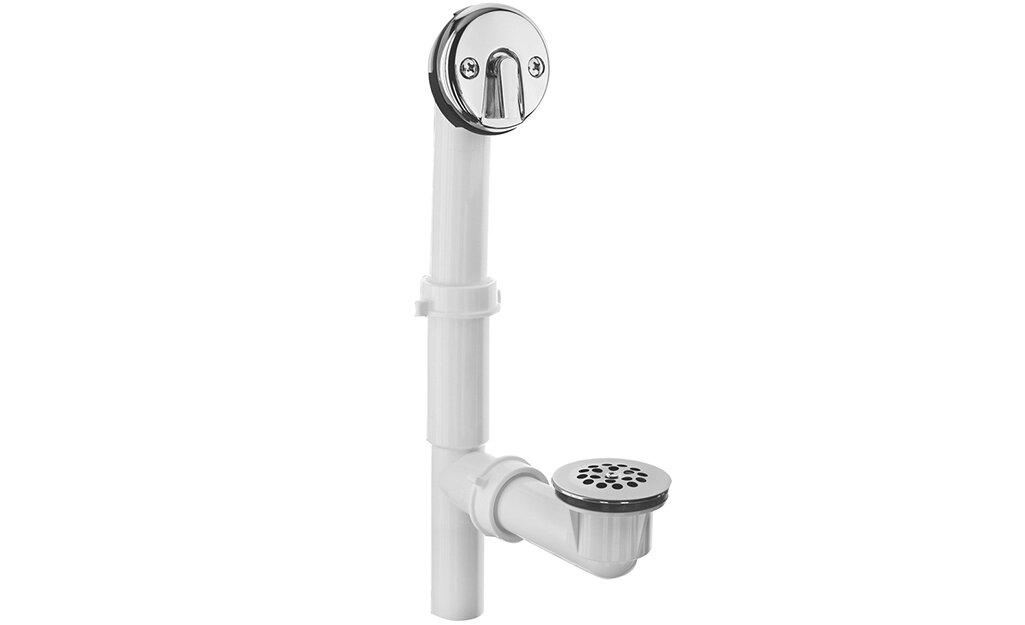
Of these four drain stoppers, the trip-lever drain stopper—also called a flip-level drain stopper—is the most distinctive, which means it requires a different removal technique. You operate this drain stopper by using a trip lever that is installed on the overflow drain on the side of the tub, just below the faucet. This lever is attached to a rod that runs through the overflow drain and connects to and controls a stopper that is inside the drain, rather than on the tub’s floor. Due to this interior hardware, however, a trip-lever drain stopper can be more difficult to remove than the other types of stoppers.
Remove the Bathtub Drain Stopper
Once you have identified the type of drain stopper, you can learn how to remove a bathtub drain by following the specific directions below for your type of drain:
How to Remove a Toe-Touch Drain Stopper:
Set the drain to its open position.
Unscrew the shaft cylinder, which is the part of the drain stopper that fits into the drain opening. It is usually screwed into a threaded section of the drain opening. Depending on the design of the stopper, you may need to use a screwdriver, or you may simply be able to twist the drain stopper counterclockwise with your hand.
How to Remove a Push-Pull Drain Stopper:
Set the drain to its open position.
Lift up on the drain stopper’s knob and turn it counterclockwise.
After enough turns, the drain stopper should be unscrewed and come free from the drain opening.
How to Remove a Lift-And-Turn Drain Stopper:
Set the drain to its open position.
Unscrew the knob on the top of the drain stopper to see if there is a set-screw underneath.
If your drain stopper has a set-screw, use a small screwdriver or a hex key to unscrew it.
Twist the entire stopper counterclockwise until it pulls free from its mounting post.
Remove the mounting post using pliers.
How to Remove a Trip-Lever Drain Stopper:
Set the drain to its open position.
Unscrew the faceplate that is mounted to the overflow drain.
Pull the faceplate free and the rest of the drain stopper’s connected hardware should follow. You will pull the entire drain stopper out through the overflow drain.
You may need to wiggle the drain stopper to free its entire length. Be patient as you remove it.
Once you have removed it, set the drain stopper aside and clean away any remaining grime or debris with a scrub brush.
Remove the Drain Basket
Once you have removed the drain stopper, you will see the drain basket (also known as a drain flange) in the drain opening. The drain basket will have a metal crossbar at the bottom.
To remove the drain basket, you will need either locking pliers or a tub drain wrench. A drain wrench is a drain removal tool that is form-fitted to drain basket crossbars. It greatly reduces the risk of accidentally breaking the crossbar.
If you are using a drain wrench, insert the drain wrench into the drain and turn it counterclockwise to unscrew the drain basket.
If you are using locking pliers, make sure the pliers are small enough to reach into the drain yet sturdy enough to withstand you turning it. Clamp and lock the pliers onto the center of the metal crossbar and twist them counterclockwise. If you have trouble turning the pliers, gain some extra torque by putting a screwdriver between the plier handles and using the screwdriver to turn the pliers.
Bathtub drains usually have a long, deep thread that may take some time to unscrew. Be patient when removing and replacing a bathtub drain.
Tip: The drain basket is sealed with plumber’s putty. Soften the putty with a hairdryer first to make the drain basket easier to remove.
Clean the Drain Opening
Some of the old seal may remain, so remove any residue with a plastic putty knife.
Clean the drain opening with a sponge and either a bathroom cleaner or a 50/50 blend of vinegar and baking soda.
If you plan to reuse the existing drain stopper and drain basket, clean those pieces as well.
Next we will cover how to replace a bathtub drain.
Replace the Bathtub Drain
Whether you are replacing the drain you just removed or installing a new drain, use fresh plumber’s putty.
Roll the putty between your hands until it is a long log that is about as thick as a pencil. Wrap the putty around the lip of the replacement drain basket.
Screw the new drain basket in by hand and tighten it with the pliers or drain wrench.
Use the putty knife to remove excess plumber’s putty.
If you are installing a flip-lever drain stopper, insert the plunger into the overflow drain first, screw in the drain basket, and then screw on the drain’s faceplate. Check the flip-lever drain’s manufacturer’s instructions for details on how to install your specific model.
If you are installing one of the other types of drain stoppers, simply screw the new drain stopper into the drain basket.
Test for Leaks
Allow the plumber’s putty time to adhere, as recommended by the manufacturer.
Close the drain and partially fill the tub with water.
Mark the top of the water line with tape.
Wait about an hour, then return to the tub to check the fill level.
If the fill level has dropped below the tape marker, you have a leak and should check to ensure that the new drain is properly installed and sealed.
If the fill level remains the same, you have successfully replaced the drain.
Bathtub drain removal and replacement can be an easy task, regardless of the type of bathtub you own. Once you know the appropriate steps for how to remove a tub drain, you can even replace the bathtub drain with a different style of drain that better suits your needs.


